Bandsaw Guides

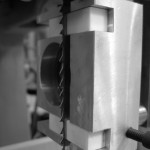
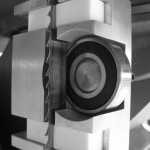
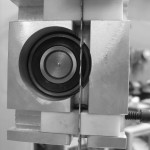
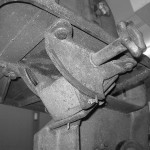
Here’s a set of band saw guides made for my D&W 20″ saw by my friend and neighbor, woodworker/machinist Kim Thoma. We worked on the design together, and Kim did the work on his  Bridgeport and lathe. The configuration is similar to the Wright and Davis & Wells guides, which place a stationary guide pad just above and just below the thrust bearing. The upper guide was the prototype — perfectly functional but a little clunky — which served as the jumping off point for the lower guide (still not perfect, but more refined than the upper). The guide body is aluminum, the pads are off-the-shelf 1/2″ x 1/2″ ceramic blocks. So far, these have worked exceedingly well — from my perspective, better than any commercial guides I have ever used.

TIRES

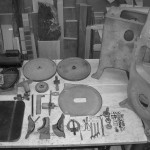
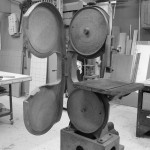
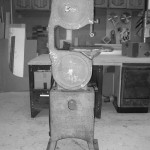
When the D&W 20″ came into my possession a couple of years ago, the tires were grooved and flat from long use with narrow bands. I should have trued and crowned them then, but chose to wait and see how they behaved in use. And they worked OK, in a ‘if-it-ain’t-broke…’ kind of way, so it wasn’t until I started noticing some vibration and inconsistencies in the cut that I decided it was past time to true and crown the tires. To do it, I set up a steady rest that allowed me to present the edge of a turning skew chisel to the spinning lower wheel at the proper angle (about 90° to the axis). I was very easy to true the tires — removing those old grooves — and crown them slightly. I do the lower wheel first, then pop both wheels off and spin the upper wheel on the lower axle.


Posted in Uncategorized | 6 Comments

Out With The Old… (not so fast!)

Those who know me know that I prefer old machinery, almost universally, to new. So it will come as no shock to learn that I have recently acquired a 14″ Davis & Wells band saw, the smaller (and I think somewhat younger) brother to my 1940-ish D&W 20″ saw. I like to leave the 20″ machine set up for resawing, while the 14″ model will serve for smaller jobs, circle and curve cutting, etc. I have to re-rubber and crown the wheels, and repair or replace the broken lower guide assembly — otherwise I think the saw is in operational shape. While it’s down for cleaning and refurbishment, I may strip the original paint, which is a little shabby, and give it a fresh look. We’ll see. I’m really looking forward to putting this saw in service. Here’s a few “before” images:

Note: The Comet Manufacturing company, of Los Angeles, made some Davis & Wells machinery in the 1950’s and ’60’s. This saw had remnants of the ‘Comet’ badge (decal) on the upper wheel cover, but the heavy cast base leads me to believe this saw was made by D&W proper, late ’40’s or early ’50’s, placed in Comet’s inventory and badged and sold as shown. Existing Comet product info from the late ’50’s shows the 14″ saw on a steel base.

So, you may rightly ask, why would I think this saw has any advantages over a more modern, or new 14″ saw produced by Delta, Powermatic, or any of the other usual players? Weight, quality of materials and casting, precision milling (where it counts) and overall design and craftsmanship. One look at the trunion assembly under the table, in the image above, says just about all that needs to be said. Compare that to any modern saw, and I rest my case. I would also mention cost as a factor. Typically, you can find older saws (and even an old ’50’s-’60’s Delta beats it’s modern descendant by a long shot, quality-wise, IMHO) for less than you pay for the poorer, newer stuff.

I guess I won’t wait by the phone to field endorsements from the current manufacturers.    🙂

Posted in Uncategorized | 3 Comments

Wood Bending Workshop (9-3-11)

The first one-day Wood Bending Workshop occurred on Saturday, September 3, 2011, with two students in attendance. Marco Cecala is an accomplished woodworker and furniture maker interested in expanding his horizons, and David Keeling is a rehabilitated airline pilot who wants to make wooden surfboards using bending techniques. The day was devoted to exploring the different ways that wood can be bent: steam treatment, hot pipe bending and bent lamination.

Air dried wood, at about 15%MC, is the preferred material for both steam and hot pipe bending, because the lignin has not been dried out excessively in the kiln and still plasticizes easily in the presence of heat. Since we are not blessed with a reliable source of air dried hardwoods in Arizona, it’s good to know that kiln-dried wood will also bend — though not so easily, and with a higher expected failure rate and a more unpredictable spring-back factor.

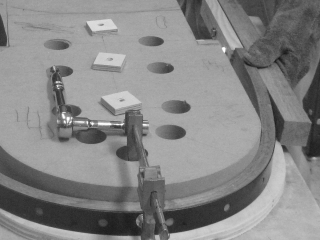
Bending kiln-dried wood is only possible with the use of a compression strap — a stiff but flexible steel strap with stop blocks bolted in place that precisely capture the length of the stick to be bent. The strap forces nearly the full thickness of the stick into compression, allowing only a bit of tension stress on the convex side of the bend. Wood stretches under tension only a small amount before failing (i.e., breaking rather dramatically), while it can be compressed very substantially before buckling. We bent 42″ (107cm) long sticks, 3/4″ x 1-1/4″ (19mm x 32mm) in cross section, into a ‘U’ shape around a 6-1/2″ (165mm) radius form. The most agreeable sticks made the trip with no discernible tension or compression stress whatsoever. Measured after cooling, the outside (convex) face of the stick was still 42″ (107cm), while the inside (concave) face of the stick averaged 39-3/4″ (101cm), a difference of 2-1/4″ (57mm)!

In the workshop we made these 42″ (107cm) bends using kiln-dried ash, hickory, walnut, cherry, maple and alder. We saw minor tension and compression stress evidence in some pieces of virtually all the species used, but several pieces bent perfectly. Ash is a predictable performer, as is hickory, and the oaks are fairly reliable. Our favorite on the day was the walnut (easiest to bend, least stress evidence, no failures). A couple of pieces of cherry also fared very well. When choosing pieces to be steamed and bent, use only the straightest grain stock you can find.
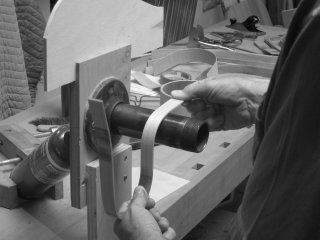
The ‘hot pipe’ is an effective method of heating thinner strips of wood for bending. It has been used for a long time by musical instrument makers to form the sides of violins, guitars and similar instruments. It can also be used in furniture making and wood craft work for making things such as chair back slats and wooden utensils. The wood is typically soaked in water for several hours prior to heating. Air dried stock up to about 3/8″ (10mm) thickness can be successfully bent on the hot pipe, kiln dried stock up to about 3/16″ (5mm). The section of the soaked piece to be bent is warmed on the surface of the pipe until it is felt to ‘relax’, or soften. Keeping the piece warm and working it on the pipe, it can be coaxed into fair curves and even very radical bends. A little scorching is typical, but can be scraped or sanded away after cooling and drying.

Bent (cold) lamination is arguably the most direct and effective way for most woodworkers to bend wood. The material is sawn into thin sections – typically 1/8″ (3mm), more or less – that are individually pliable enough to be bent cold to the intended form. Stacked up with glue between each layer, the stack is progressively clamped firmly to the form and remains clamped until the glue has thoroughly set. Preferred glues for bent lamination are the urea formaldehyde types because they cure hard, are not thermoplastic, and do not ‘creep’ (i.e., allow the laminates to ‘slip’ in reaction to the laminates’ tendency to try to spring back to an unbent condition).

Please peruse the following gallery of images from the workshop to get an idea what we were doing.  If you’re interested in learning more about bending wood, considering signing up for my workshop the next time it comes on the schedule.

Posted in Uncategorized | 21 Comments

“Steamin’, I’m always steamin’ …”*

(* – apologies to the late Johnny Burnette … df)

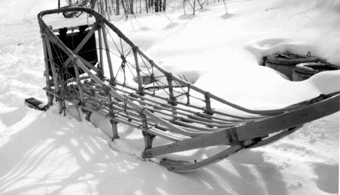
My introduction to steam-bending wood was in the mid-1970’s in northwest Alaska. We got into building dog sleds and boats, and making and repairing snowshoes. The Inuit people had always used green birch, harvested regionally, for bending parts for such things. In the ’70’s it was more common to use hickory that was barged in every summer (the nearest road was 300 miles east). These kiln-dried 50mm planks came from who-knows-where, and if at the time we had known or cared about moisture content we probably would have thought twice about trying to use it for bending.

medium basket sled

A mid-size basket sled

But we forged ahead, learning the local bending customs from the old-timers. There was little agreement on processes — everyone had their own favorite secrets, divulged grudgingly — and the failure rate was significant, even for mild bends like dogsled runners. No one really knew about or understood the science involved, practical place as it was you just had a go at it using what you thought you knew or had learned from previous experience.

Martin Puryear, "Bower"

Martin Puryear. Bower. 1980. Sitka spruce and pine, 64" x 7' 10 3/4" x 26 5/8" (162.6 x 240.7 x 67.6 cm). Smithsonian American Art Museum, Washington D.C. Museum purchase made possible through the Luisita L. and Franz H. Denghausen Endowment, Alexander Calder, Frank Wilbert Stokes, and the Ford Motor Company. Photograph by Richard Barnes. © 2007 Martin Puryear

My first bending epiphany was provided by brothers Michael and Martin Puryear, who in 1980 or so kayaked the Noatak River and ended up camped on the coast next to us near Kotzebue. We were building a boat, and in the process of bending the chines. The Puryears were both woodworkers — Michael today is a well-known furniture maker in upstate New York, and Martin is a famous sculptor and wood artist — and both were experienced and educated in the process of bending wood. I’m sure they thought our uninformed, backyard efforts were nuts, but they gave us some great advice and later, after they were home in New York, sent me some excerpts from the USDA Forest Products Lab’s pub. #215, Bending Solid Wood.

In the 1980’s and ’90’s I came to rely on bending information written by Bill Keyser and Michael Fortune published in Fine Woodworking Magazine’s compilation Fine Woodworking on Bending Wood. (the book is still available from Amazon) In more recent years I have had the opportunity to see Fortune’s wood bending demonstrations at conferences and other venues, and became convinced — the eyes don’t lie — that he had the whole thing pretty well figured out. Michael has been my wood bending ‘guru’ ever since.

There is a lot of literature out there on bending wood with steam, and if you read through it it’s not hard to avoid the comparison with my Inuit friends from long ago — not everyone agrees on every aspect of the process. But there are a few constants that I think can be set down as rules:

  1. Air dried wood (avg. 15%mc) is ideal for steam bending. In air dried stuff the lignin and cell walls have not been ‘cooked’, as in kiln drying, and can still be easily plasticized by heat. Kiln dried wood responds to steam and can be bent, but especially in thicker sections the results are much less predictable and satisfactory than using air dried material.
  2. Use straight-grained, defect-free stock. If your piece has significant runout, inclusions or pin knots, or almost any defect at all — you’re asking for trouble.
  3. Steam wood one hour per inch of thickness. If your steam box is cranking (lots of very hot steam blasting out of every nook and cranny), that’s all it takes whether heating air or kiln dried wood.
  4. Use a steel compression strap whenever possible. If bending air dried wood, you may be able to skip this for milder bends, but it’s essential for radical bends. And if bending kiln dried wood, a steel compression strap is required for all bends, radical or mild — if you want to have any hope of avoiding failure.
  5. No rules are absolute! Sometimes things seem to work OK in spite of all evidence to the contrary. But following the rules above will generally give you the best chances for consistent success.

There are other ways of bending wood — the hot pipe for example, which has been used for a long time (centuries?) for bending violin sides, and can be used on air-dried stock up to about 10mm thickness (and on kiln-dried stock up to maybe 4mm. Bent lamination is the other chief bending method, in which thin layers of wood are glued and clamped to a shaped form.

Adding bent wood to your repertoire of woodworking techniques greatly expands your horizons as a woodworker and furniture maker. If you are interested in the process and a chance to try it in a hands-on environment, consider signing up for my one-day bending class (offered periodically). The workshop provides an introduction to steam bending, hot pipe bending and bent lamination.

Please see the following post for a description of the first bending class, held Sep. 3, 2011, including an image gallery from the class.

Posted in Uncategorized | 1 Comment

Cabinetmaking Class

The first iteration of the class “Make a Wall-Hung Cabinet” (henceforth to be called simply “Cabinetmaking”) was held over three days in late August (26-28) 2011 with two students: Matt Vredenburg and Chip Hidinger, both woodworkers with some experience. It was a very busy three days, but in the end I think we arrived about where I had hoped we would, and both students went home with cabinets they can be proud of.

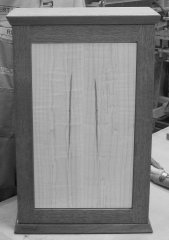
The cabinet we made was small (50cm x 30cm x 15cm), a simple design based on the kind of work done at the College of the Redwoods. Built of Honduras mahogany and curly soft maple, the carcase is doweled and the back is a full frame-&-panel construction glued into a rabbet. The door overlays the front of the cabinet completely and is hung on 7mm (5/16″) brass knife hinges. The door frame is slip mortise-&-tenon, and the panel is installed as would be a piece of glass —  so it is removable. Up to two adjustable mahogany shelves can be placed in the interior of the cabinet. The top and bottom edge profiles are worked completely by hand, with planes and spokeshaves, and all surfaces are hand planed and lightly sanded (400-600 grit paper). The finish is shellac polish, hand-applied prior to assembly.

Considering it would take an experienced maker several days to make this cabinet (while honoring the construction methods, attention to craftsmanship and detail work), asking less experienced makers to do all the work in three days is biting off a lot. There’s simply no way we could start from scratch and hope to get anywhere close to completion, so I milled all the parts and did the mortise-&-tenon joinery in advance. The students did the case joinery and all the hand work of fitting the frame and panel joinery, planing and finishing all the surfaces, designing and working the top and bottom edge profiles, assembling the case and fitting and hanging the door. At the end of the session we issued a collective “Whew!” There’s much more to this kind of work than meets the eye, and much of the detail work comes at the end when everything is assembled and fitted.

Check out the image gallery from the class (below), and look for this class to be offered again in the next course rounds.

Posted in Uncategorized | 1 Comment

Classic Shoulder Plane

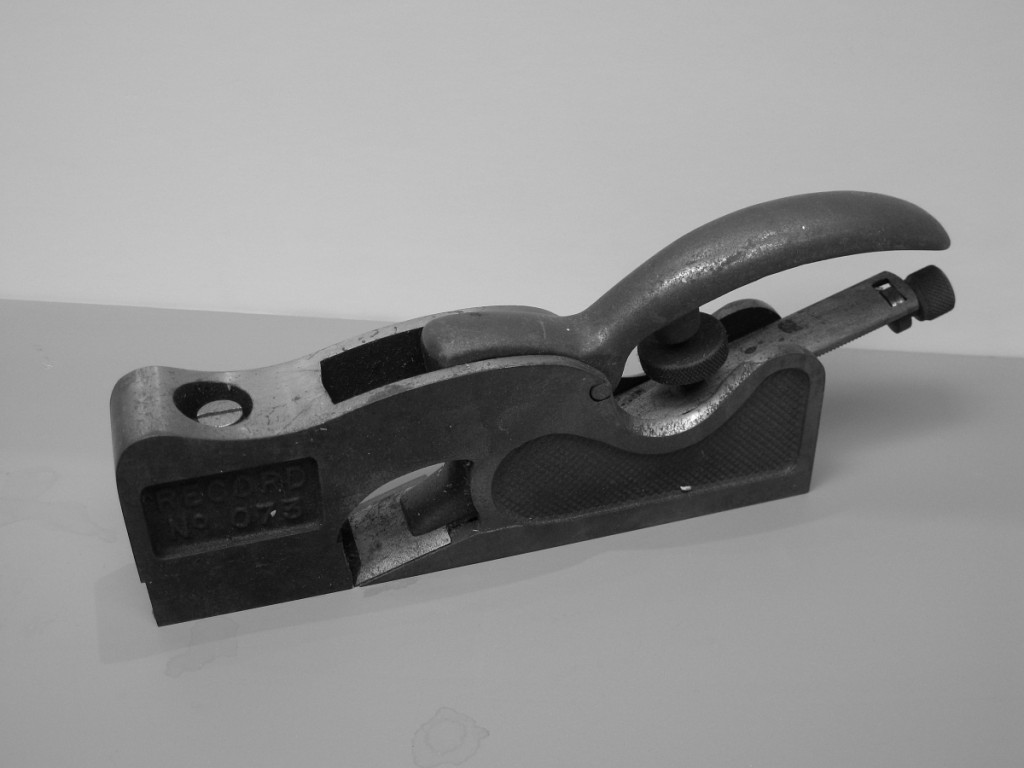
record 073

The Record # 073, from the eBay posting

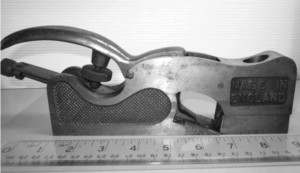
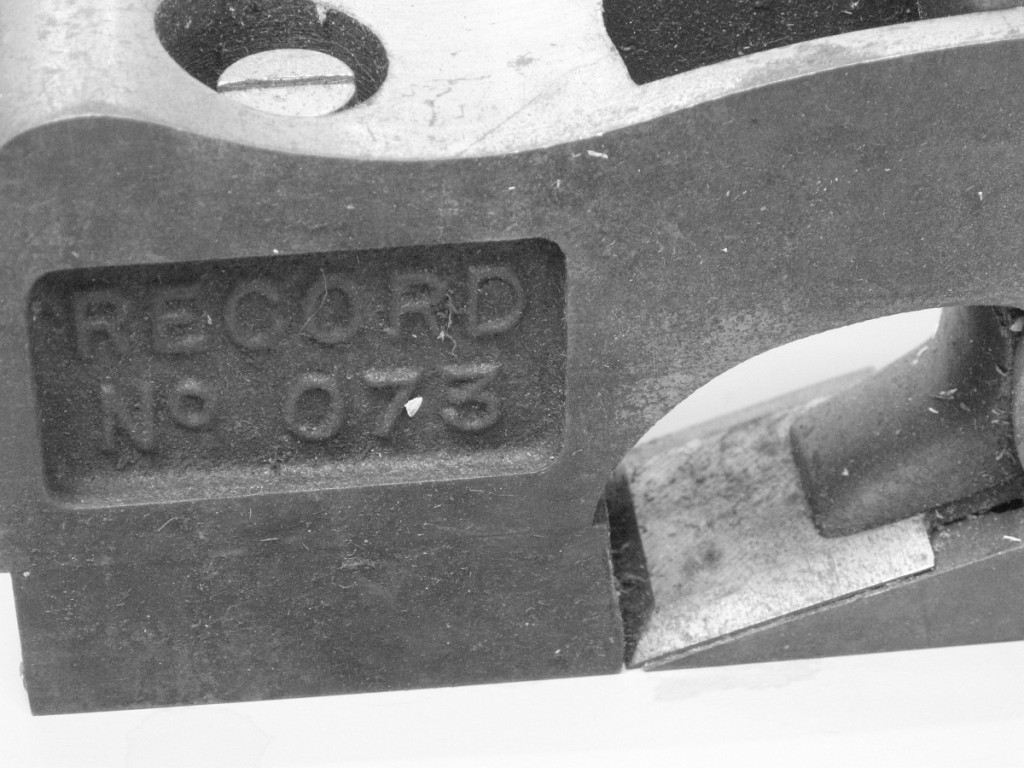
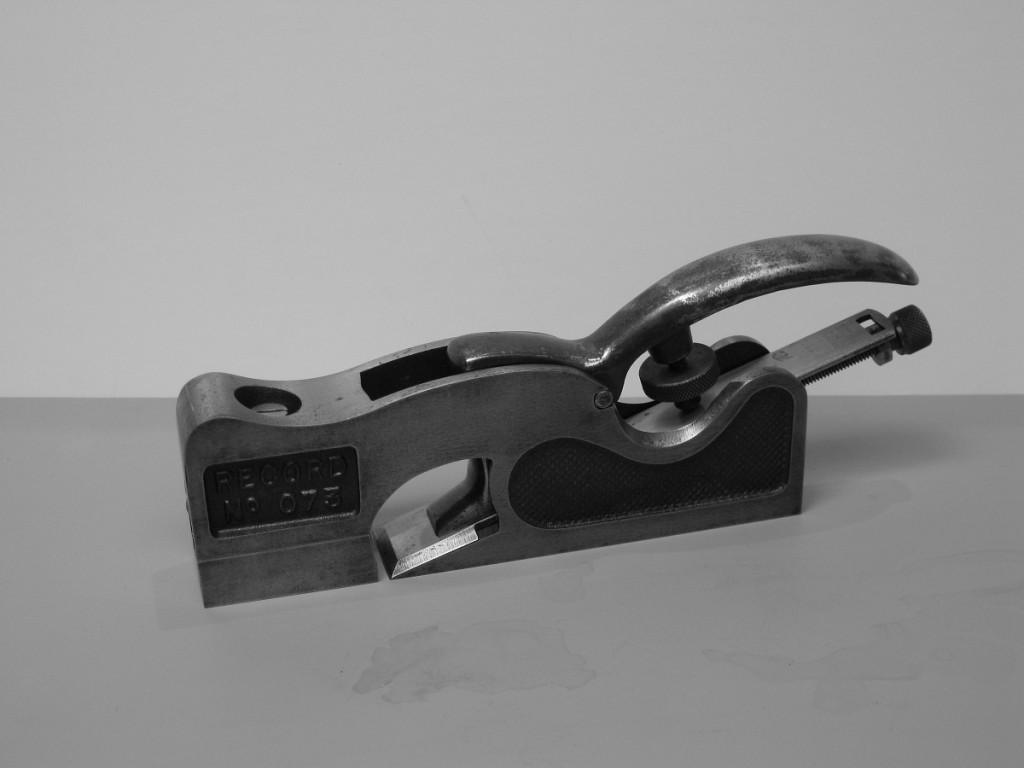
Another milestone in my lifelong quest for excellent hand tools: a Record #073 shoulder plane. A little rusty but complete and completely restorable, purchased from England via eBay. These are the classic production steel shoulder planes, made 1933-1994, based on Edward Preston’s design, that eventually became the model for the current Lie-Nielsen shoulder planes. Four pounds, eight inches in length and 1-1/4″ wide, with an adjustable mouth, these beauties are capable of of incredibly fine cuts. Arguably Lie-Nielsen has made some subtle improvements in their model, but functionally there is no difference  —  and at less than half the cost, I’m very happy with the Record.

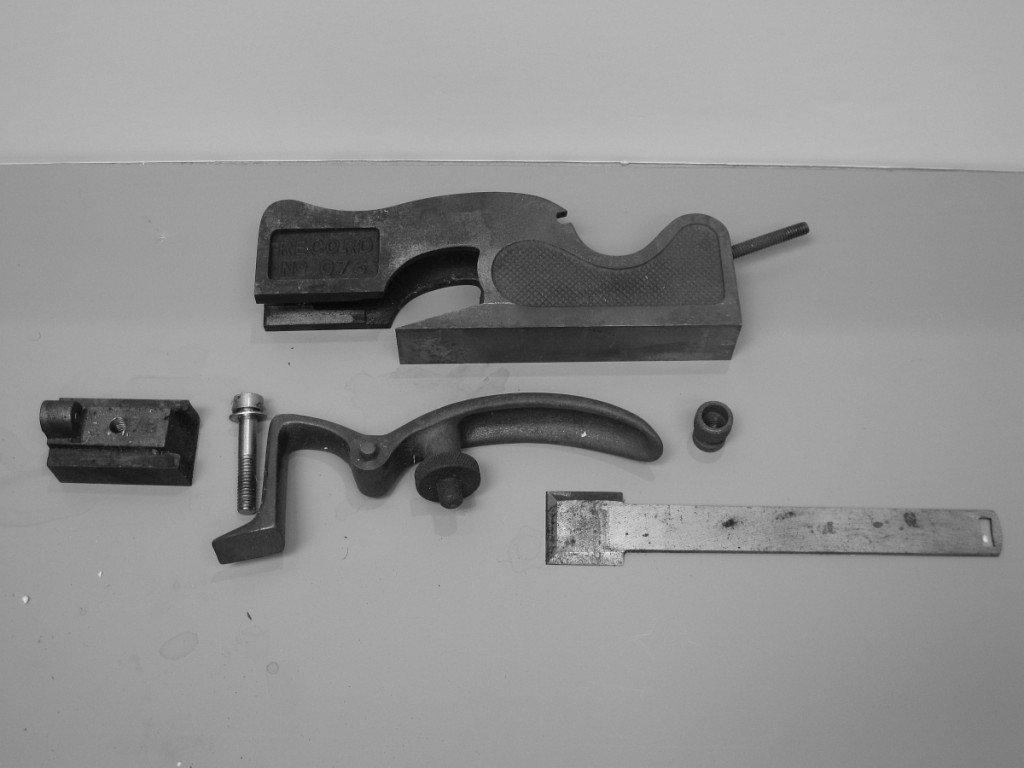
The plane arrived with just a light coating of surface rust on part of the body (no pitting). After completely dismantling the few parts, and a thorough cleaning, the rust was dispatched with a bit of steel wool and lube — leaving the patina typical of a fine tool well used and cared for.

Record 073

The Record 073 as-is upon arrival from England

Record 073

A light coating of corrosion, very manageable

Record 073

Record 073 stripped down for cleaning

Record 073

Record 073 restored and ready for action

Posted in Uncategorized | Leave a comment

Floatin’

joinery float

joinery float

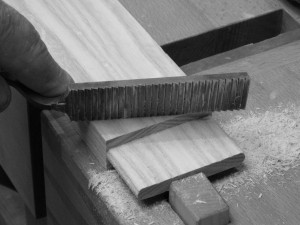
‘Floats’ have been made and used for centuries. Simple tools, they are a cross between file and a saw, designed to remove material evenly from a surface while leaving it flat. You may be familiar with the ‘planemaker’s’ floats, used in the heyday of wooden plane making to flatten and refine the plane’s bed and other surfaces that were chopped out of solid blocks of wood. Floats have excellent uses in basic joinery, too.

float teeth

float teeth

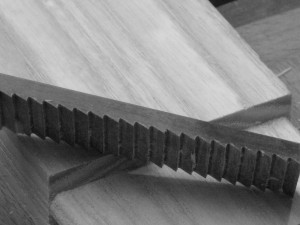
Floats resemble files, except that instead of lots of little ‘teeth’ the float typically has a row of teeth from front to back, each tooth extending across the width of the steel, shaped about like a rip saw tooth in cross section. The teeth act like a row of chisels, each taking off a little bit as the float is passed over a surface.

float in use

Joinery float in use

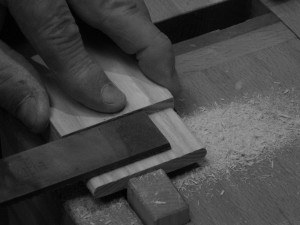
If you know how to shape and sharpen hand saw teeth, you can make your own floats — although speaking from experience it’s a little tedious to do so. I have a joinery float that I purchased from Lie-Nielsen a while back that I have been very happy with and recommend highly. It’s a real boon when adjusting the fit of tenons, and can be used in other circumstances as well. These have to be sharpened occasionally, which is accomplished with the use of a 6″ double extra-slim taper saw file. The L-N tool I use is their model #FF-T, face float Push .

L-N provides them in ‘pull’ configurations as well as different shapes and sizes. For an online how-to article about making floats, check this out. The author is dealing with narrow floats here, but the principles are the same and his techniques are sound.

through tenon

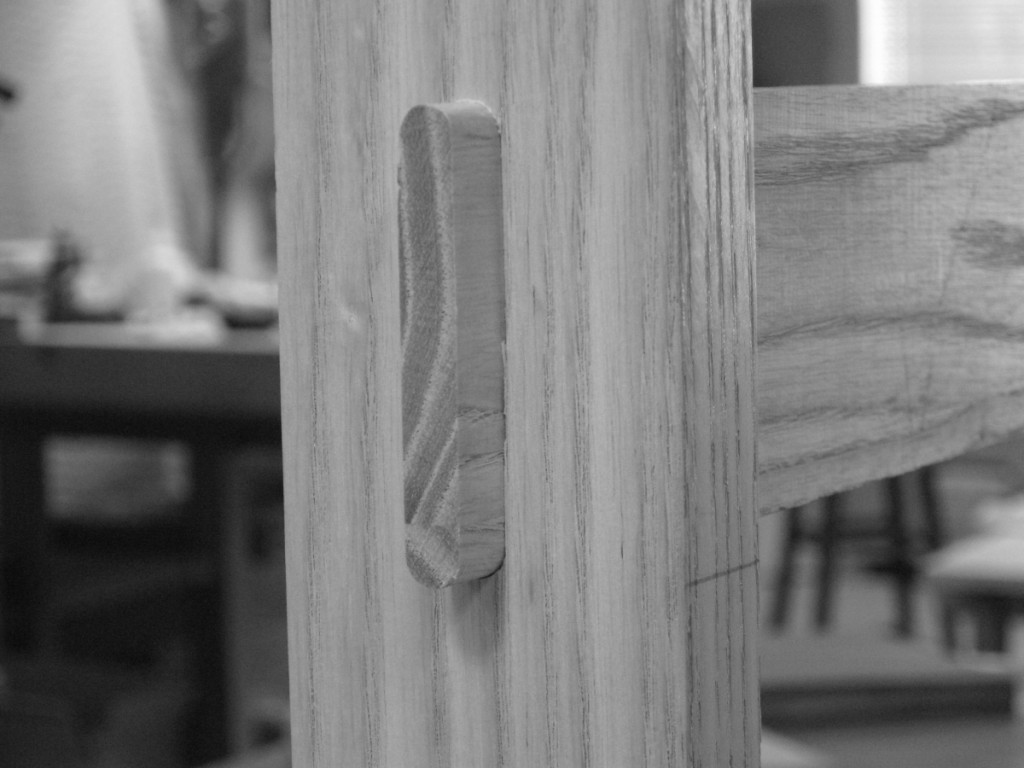
A floated, well-fit through tenon

Posted in Uncategorized | Leave a comment

Making Shop Stands

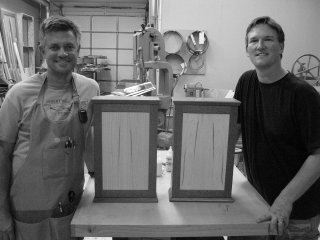
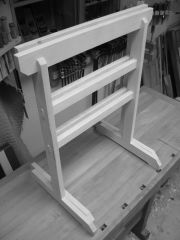
Krenov-style shop stands are strong, lightweight (unless you use, say, bubinga :-)) and nest neatly without taking up lots of floor space. Making them is a good exercise in basic mortise-&-tenon joinery, planing and assembly. In my ‘Mortise and Tenon’ class, each student makes a pair of stands to take home. In order to make the most of the two-day class, I prepare all the stock in advance. Students learn to plan and execute mortises, using one of my horizontal mortising machines; saw tenons and bridle joints on the tablesaw; fit the joinery by hand, and assemble the completed stands.

Below is a gallery of images from a recent class. These cover some of the basic milling operations not done in class as well as some of the joinery operations.

Posted in Uncategorized | Leave a comment

Transitional Planes

The Stanley ‘transitional’ planes, combining a wooden body with a cast iron frame, frog and standard adjustment mechanism, were made between 1870 and 1940. You see these things pretty commonly in antique shops and flea markets. According to those in the know, they are not particularly valuable in the collectors’ market (which is why you see so many of them, and so few #1’s). Still, a plane is a plane and a potential working tool, so I set out to find a restorable one for a friend who had expressed an interest.

Stanley 26

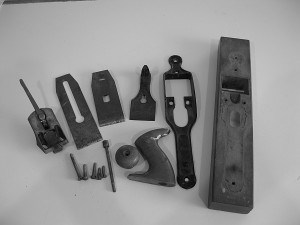
The Stanley 26 in pieces

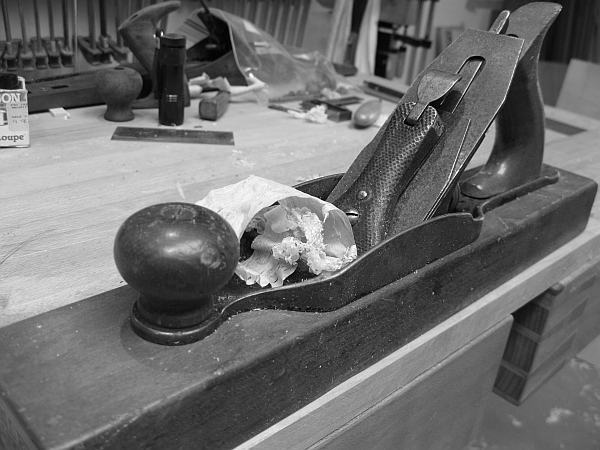
I ended up buying this #26, a 15″ plane that dates (a far as I can make out) from 1898 or so. I got it off eBay for about $25 (inc. shipping), maybe not as cheap as could be but the same you would expect to pay in an antique shop.

Stanley 26

"Parts is Parts"

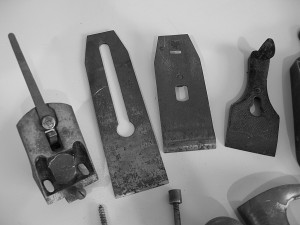
The beech body was in very good shape, an exceptionally dense piece of timber that had none of the severe bottom scoring or end-checking often seen in these things. The metal parts were coated with light surface rust, but cleaned up nicely. Most of the remaining black ‘Japaning’ came off in cleaning, but that’s only important to collectors. The iron and chip breaker turned out to be a little later vintage, about 1910 (based on the imprinted logo), but were in good enough shape to polish and sharpen for normal use.

Stanley 26

Takes a lickin' but keeps on tickin'

Once the metal parts were cleaned and the iron tuned up, I reassembled the plane and trued the bottom (it had just a slight twist in it, again attesting to the quality of the piece of beech). I took a couple of shavings with it, and these pictures of it, and passed it on to my friend who was pleased to get it. He plans to use it as a shooting plane, which would be a nice fit for it given the heft of the beech body.

Now I’m looking for one for myself!


Posted in Uncategorized | 7 Comments

Hi-Tech, Low-Tech

D&W mortiser

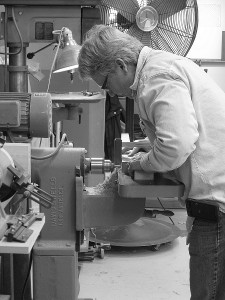
Charles S. making mortises on the D&W

My old Davis & Wells horizontal boring machine is a great platform for making mortices, using machinists’ end mills, and boring holes in doweling and other operations. Knowing that the end mills like a little higher rotation speeds than most drills, I swapped the drive pulley a while back for a larger diameter one that would gear up the motor’s 1725 rpm output to a spindle speed in the 3600 rpm range. This improved the mortising, but my drill bits didn’t like it.


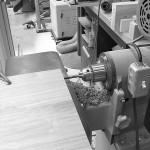
Boring on the D&W

Boring holes on the D&W

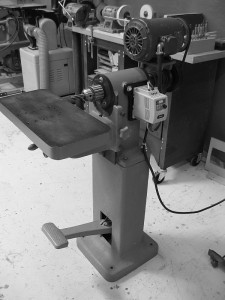
I decided to create a best-of-both-worlds solution by converting the machine from single speed to infinitely variable speed, using a 3-phase motor and a VFD (variable frequency drive).


D&W with VFD

The old D&W with 3-ph motor and VFD

Saving me the trouble of a trip to Apache Reclamation to scrounge for an inexpensive small 3-ph motor, my neighbor produced an old GE 1-HP 3-ph 1725 rpm motor that even had exactly the right mounting foot for the D&W mortiser.  The next step was to pair it with a VFD of the same specifications, and for that I went to Dealers Electric in New Jersey. There I found a Westinghouse-TECO VFD rated for 240v single phase input, three phase 1-hp output, with constant torque output, for about $130.


D&W with VFD

The new VFD in place

Wiring these is pretty easy, and once they are set up you have to go through a series of keypad commands to set the VFD’s parameters to match the motor’s capacities exactly, shaft rotation direction, etc. Once done, you have (in my case) an infinitely variable, 0-3600 rpm speed control at constant torque.


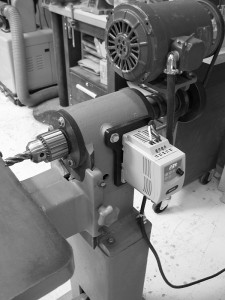
D&W with VFD

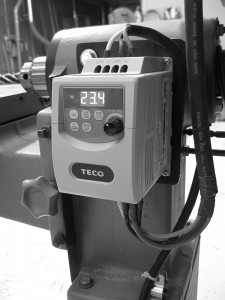
The new VFD

The LED readout on the VFD is in hz rather than rpm, so I have to do a bit of interpolation to hit precise speeds, but ballpark seems to work just fine. If I’m mortising with the end mills, I run in the upper ranges (depending on the diameter of the mill, hardness of the material and general feel of the operation). If boring holes with drill bits I’ll be in the lower ranges, with the same caveats.

I may even get a drill speed chart one of these days! 🙂


Posted in Uncategorized | 14 Comments